I am obsessed with getting my home organized. It has been my mission to make sure everything in my house has its designated place. I wanted to find creative and stylish ways to store toys, books, and other items. That’s why I was so excited to find some wood crates on sale. When I bought them, I knew I wanted to make a bookcase I could place in my living room and that would serve as another storage space for my son’s toys.
Supplies I used:
- 3 Wood Crates (bought at Jo-Ann Fabric and Craft Store)
- Hammer
- About 12-15 Common Round Nails (sizes 5/8″ and 1″)
- Fine Grit Sand Paper (optional)
- Elmer’s Carpenter’s Wood Glue
- Coffee Grounds Wood Stain (I will explain later in the post)
- Mod Podge (gloss)
I started by sanding parts of the crates because they had rough spots and splinters. Most of the assembled crates you buy at stores are ready to paint, but some need extra help to smooth the surfaces.
Under my list of supplies, I stated that I used coffee grounds to stain the wood. It’s a very natural way to add color to wood without using harsh chemicals. The older I get, the more sensitive my skin and nose becomes to a lot of chemicals and fumes, so I was happy to find alternative stains.
I mixed together about 1 1/2 cups of white vinegar, 2 tablespoons of coffee grounds (doesn’t matter what kind), and steel wool inside a jar. I sealed it and let it sit for about 24 hours. The stain came out a dark brown color. The more coats you put on the wood, the darker it will become.

I made sure to cover my work area and put on some plastic gloves because the stain mixture is wet and messy. Then, I rubbed two coats of the stain on the wood crates (let it dry about 2 hours between each coat).

This is what the crates look like after the stain dries. Such a nice brown color. There were some dried coffee grounds left on the wood, but all I had to do was wipe them off with a towel.
Next, I sealed the wood crates with Mod Podge.

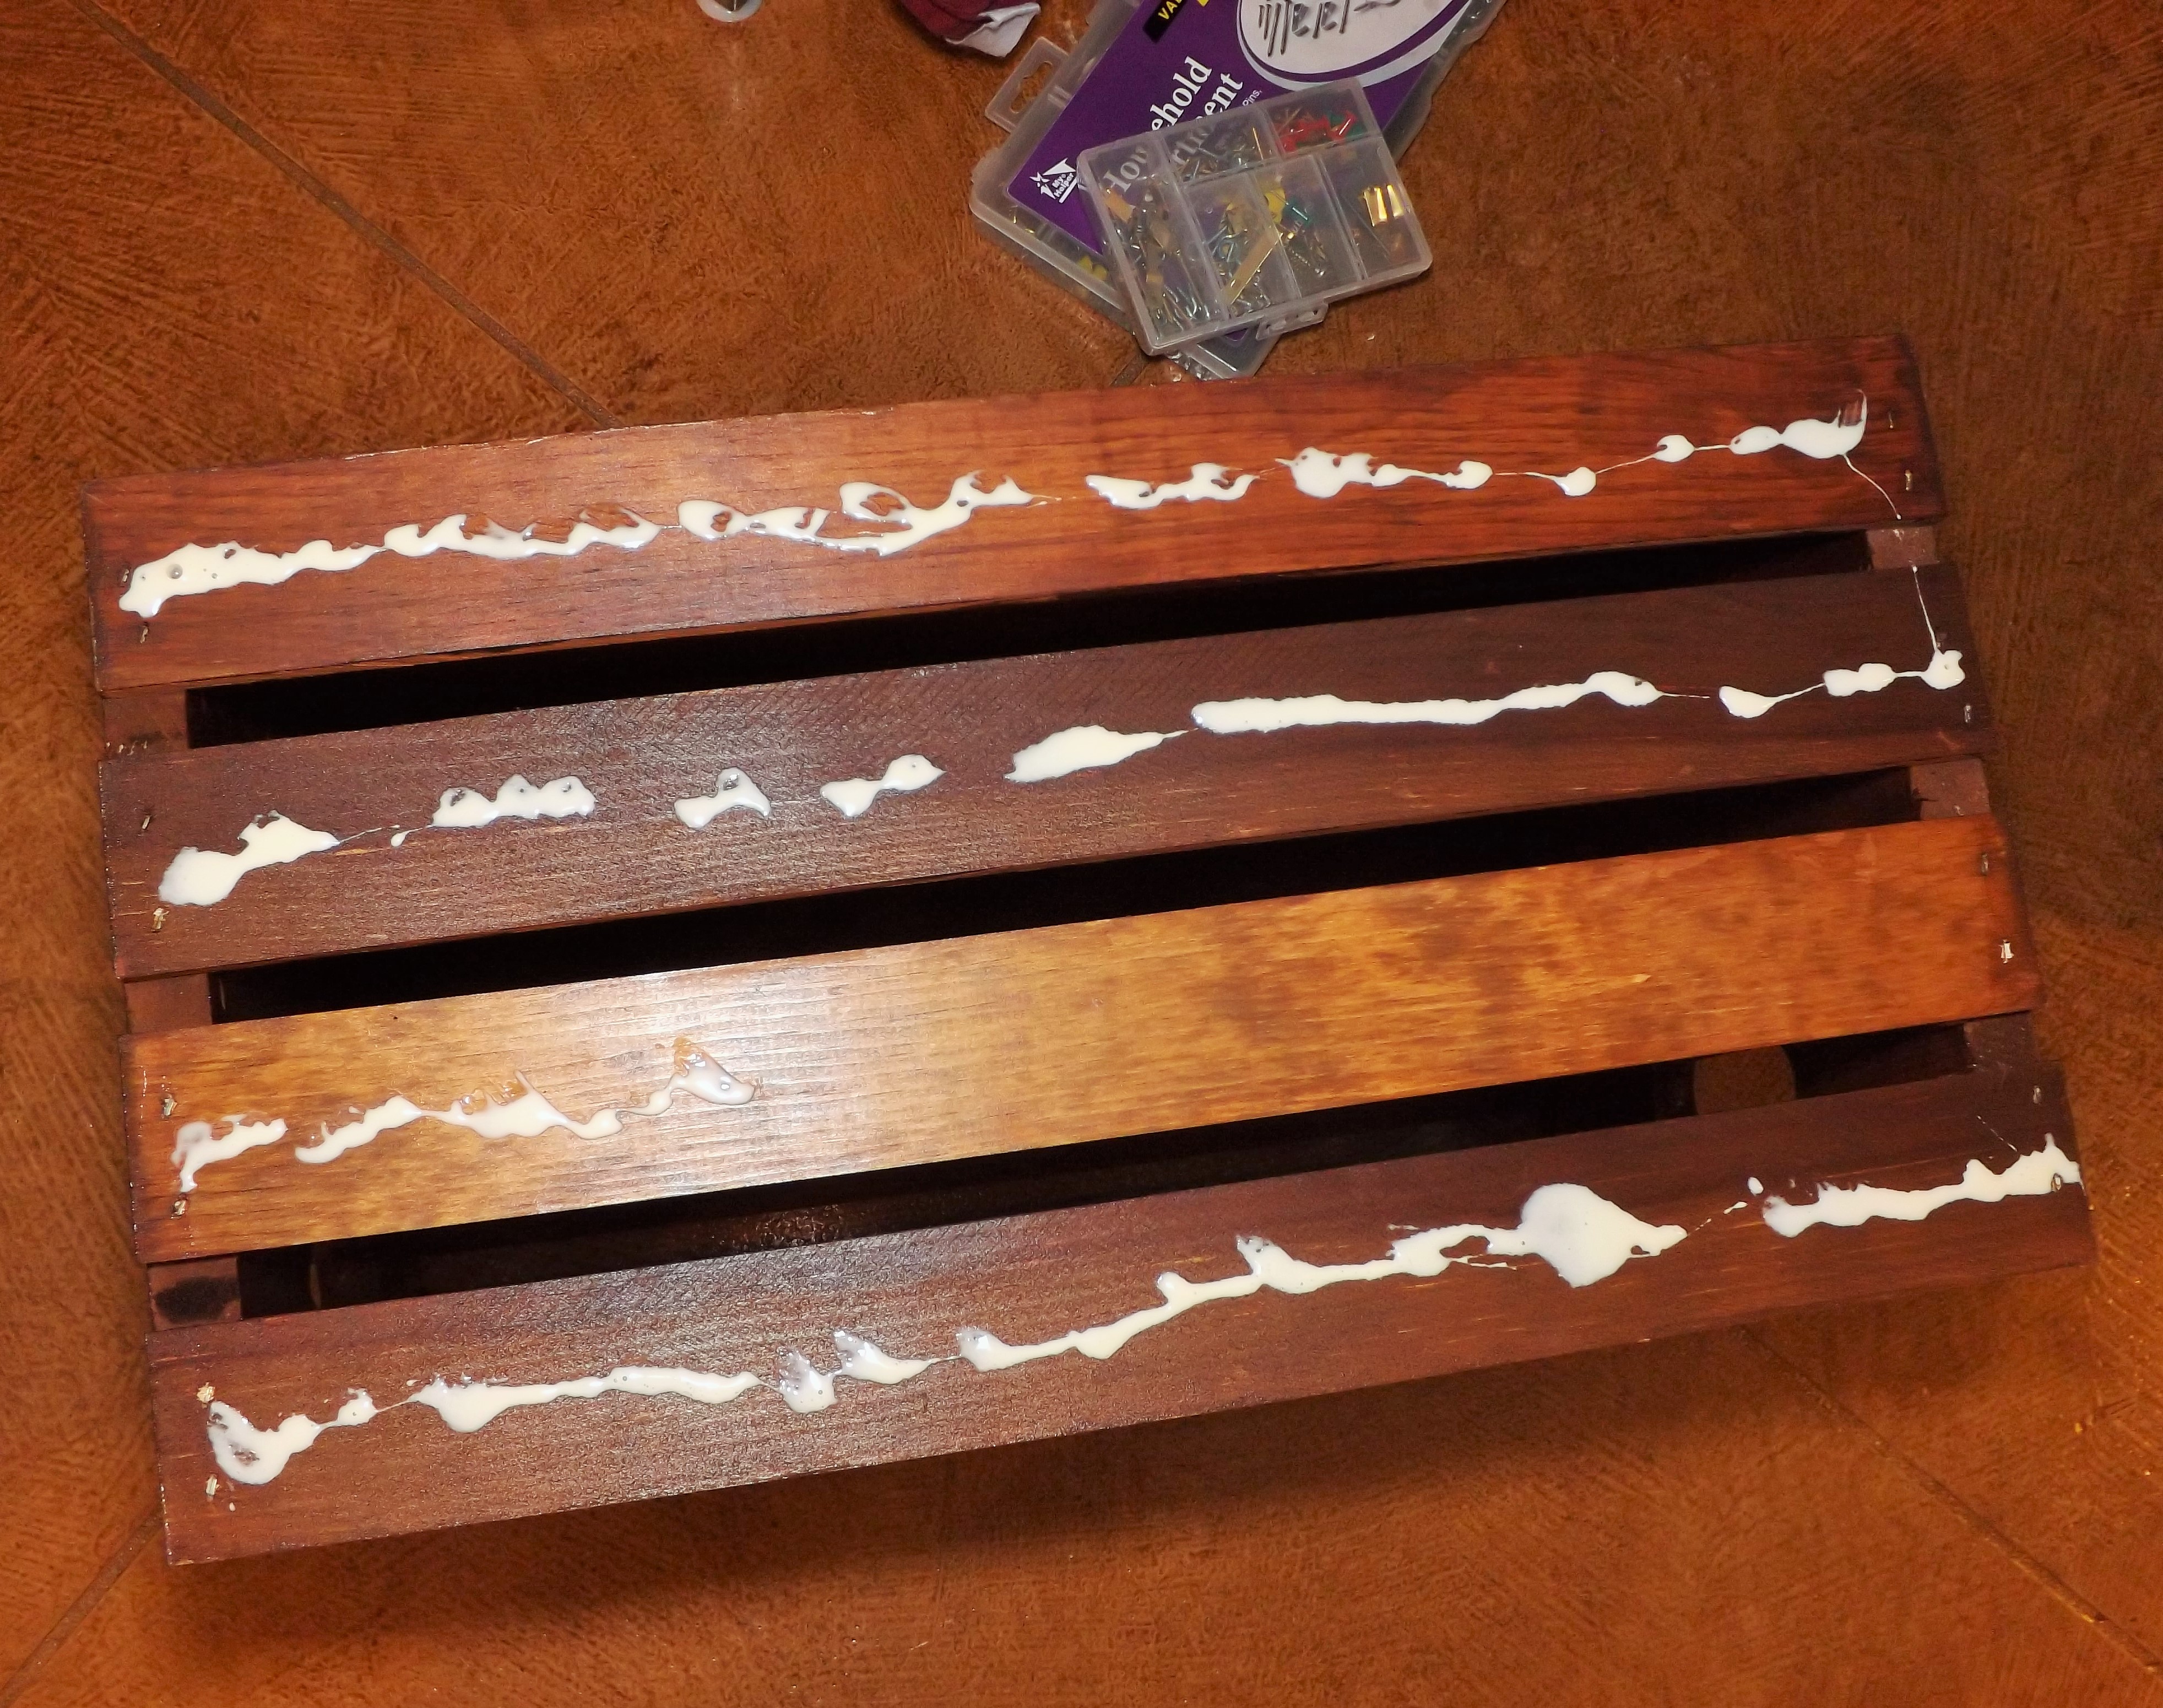
Finally, I glued and nailed the crates together.


I love the way this project turned out. The best part was my 4-year-old son trying to help me nail the crates together. He was so excited to touch a real hammer. I’m happy that he got the opportunity to see his mom using tools, and it was an awesome lesson for him to begin learning how to build and make things.


Leave a reply to Craft Roundup: Wood Crate Projects | Wonderful Creations Cancel reply