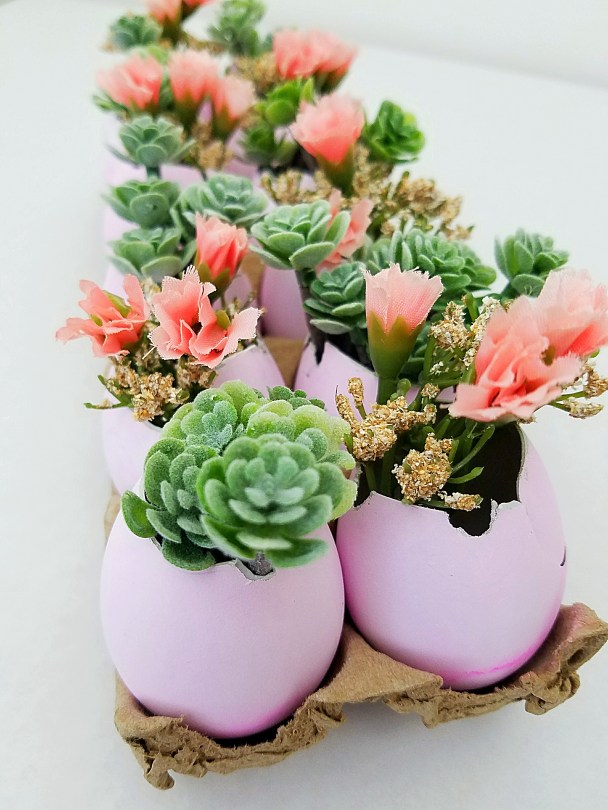
Decorating eggs for Easter is a tradition I’ve enjoyed since I was a little girl. For today’s blog post, I am sharing a fun tutorial on how to combine decorative plastic eggs with faux succulents and flowers. So instead of just dying the eggs, you will have a beautiful mini garden that doesn’t need to be watered and will last all season long!
Continue reading below for instructions.

Supplies:
- White decorative plastic eggs
- Liquid dye
- Artificial succulents
- Artificial flowers
- Scissors
- Floral wire cutters
- Plastic bag
Instructions:
***I bought my plastic egg kit at Walmart, but you can find similar eggs at Target and craft stores.
1. Cover your work area with newspaper or a tablecloth.
2. Place the eggs into a plastic bag and add several drops of the liquid dye.
3. Swirl the eggs in the bag until the eggs are colored.
4. Place the eggs back in the carton to dry.


5. Carefully cut the tops off of the eggs. The plastic is thin enough to cut open with scissors.

6. Use the floral wire cutters to trim the stems of the flowers and succulents. Make sure the length and size of the plants are small enough to fit inside of the eggs.

7. Finally, arrange and place the flowers and succulents inside each egg. Your new mini garden is now ready to display. Enjoy!


I’ve never thought to use those mini succulents in my home. Very cute!