Today’s blog post involves my love of chipboard projects and paper crafts. Decorating chipboard letters is a lot fun. There are countless projects you can make, and all you need is a little imagination.
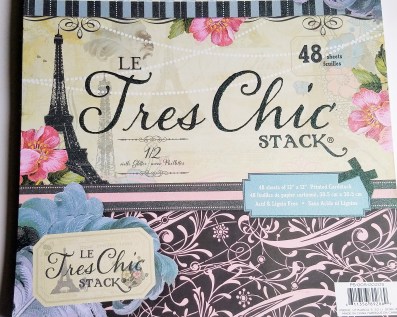
For this project, I wanted to use scrapbook paper. At first I was going to decoupage the paper on the letter and add embellishments, but then I decided to be a little more creative and add a 3D paper craft to the letter.
Check out the tutorial below.
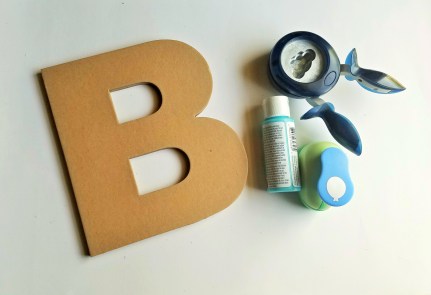
Supplies:
- Chipboard Letter
- Scrapbook Paper
- Balloon and Cloud Punch
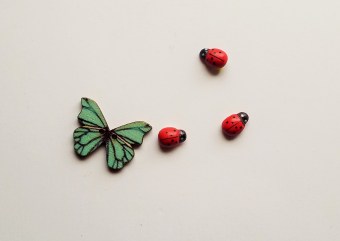
- Miniature Wooden Hearts and Ladybugs
- Jute Twine
- Pool Blue Acrylic Paint
- Adhesive Foam Dots
- Glue Stick
- Foam Brush
Instructions:
- Use the punches to make balloons and clouds out of the scrapbook paper.


- Paint the chipboard letter, then let it dry for about 1-2 hours.
- Glue the paper clouds on the top of the letter, then glue the paper balloons and jute rope on the bottom right corner of the letter. Use the adhesive foam dots to add dimension to the paper shapes.
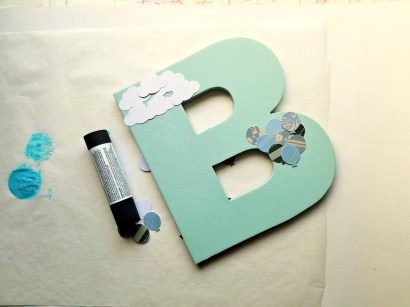
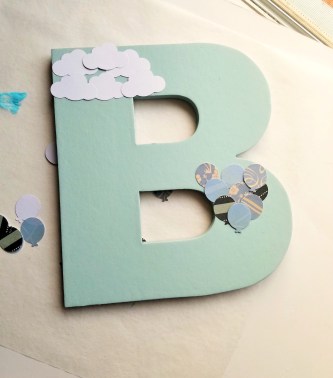
- Continue adding as many balloons and clouds as you desire. Finally, add the miniature hearts and butterfly to the left side of the letter.
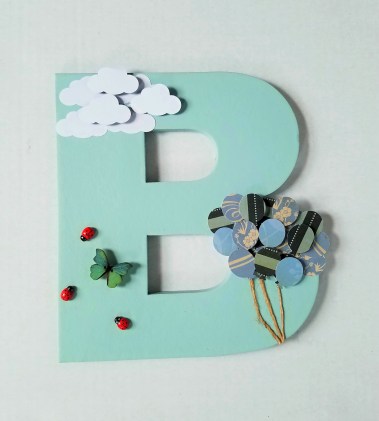
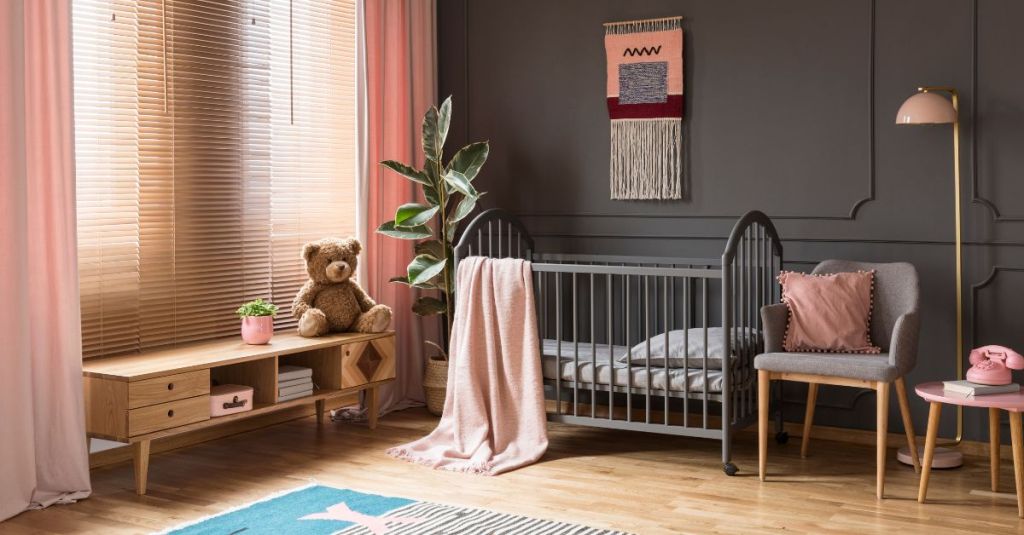
How cute is this letter? I think this project is perfect for a child’s room or a nursery. You can spell out your child’s name and add different embellishments and paper shapes to each letter.
Thanks for reading my post. Have a great day!


Leave a comment