My previous cloud themed post inspired today’s craft project. For some reason, making these clouds put a big smile on my face. The best part about this project is that I made it reusing materials in my home. I love doing anything that doesn’t require me to go to a store and spend a lot of money on craft supplies.
Supplies:
- Cardboard
- Polyester Pillow Stuffing
- String
- Scrapbook Paper
- Hot Glue Gun
- Scissors
- Utility Knife
- White Acrylic Paint
- Paint Brush
Directions:
1. Begin by drawing clouds on pieces of cardboard (I used an old shipping box). Make the clouds as large or as small as you want.


2. Cut the clouds out with a utility knife.

3. Paint the clouds white, and let them dry for a couple of hours.

4. Gather the polyester stuffing. You can either buy a package of the stuffing, or you can do like I did and take the stuffing out of an old pillow.
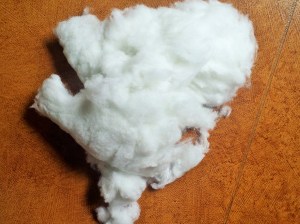
5. Pull the stuffing apart and begin gluing it on the clouds with a hot glue gun.


6. Make raindrops for the clouds by drawing raindrop shapes on scrapbook paper. Cut them out with your scissors.


7. Turn the clouds over and hot glue three pieces of string on the backs of the clouds.

8. Once the glue is dry, turn the clouds over to the front side and hot glue the paper raindrops on the strings.


9. Finally, hang the clouds on your wall. (I used thumbtacks to secure the clouds to my wall.)

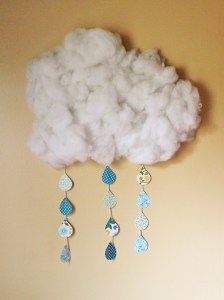
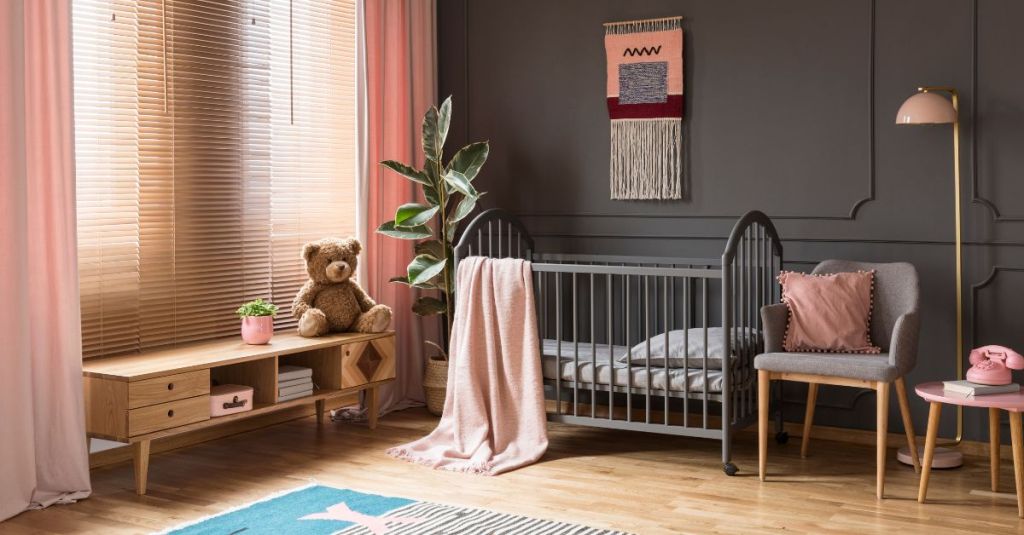
These fun clouds are going into my son’s room. I hope he likes them as much as I do!


Leave a comment