Simplify your craft set up, improve safety, and avoid the headaches of misplaced supplies with these five tips for a well-organized, creative haven.
A tidy craft area inspires confidence and sparks ideas by placing every marker, ribbon, and needle within easy reach. You save precious time once clutter disappears, and supplies sit ready for action rather than buried in boxes. Clear, purposeful organization ultimately turns crafting sessions into restorative moments rather than stressful searches for missing materials.
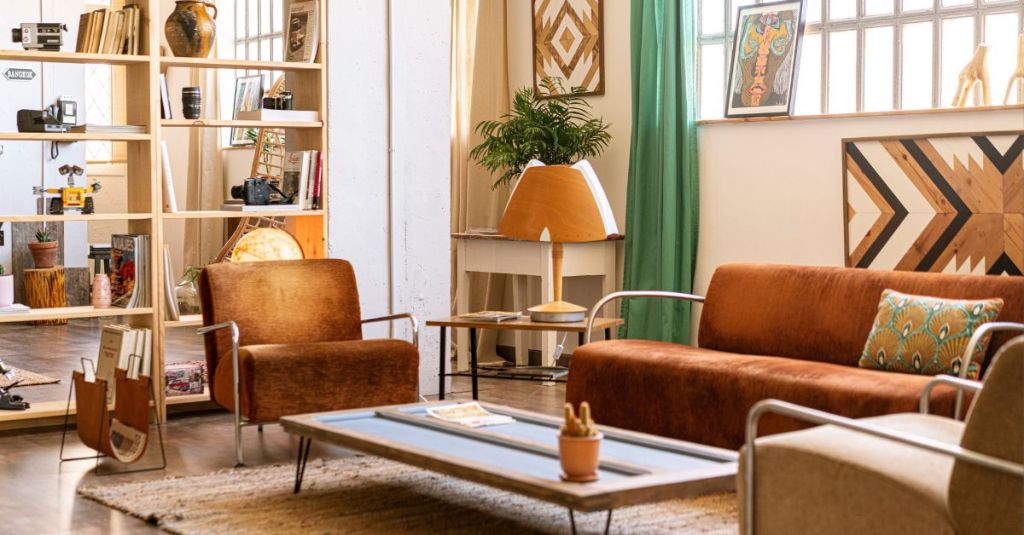
Improve Open Storage Spaces
First, convert underused garages or sheds into vibrant craft havens by adding sturdy worktables and adjustable shelving. Sturdy tabletops handle heavy equipment, while weather-resistant cabinets protect delicate paper, fabric, and beads from dust or moisture. Bright lighting, power strips, and rolling tool chests further boost functionality and encourage longer creative sessions.
Additionally, slatwalls deliver long-term value because they install quickly, accept countless accessories, and adapt to ever-changing projects. Install baskets for yarn skeins, shelves for paint bottles, and hooks for rotary cutters so that your favorite items are visible and within reach. Consequently, clean countertops invite spontaneous creativity and avoids the frustration of shuffling piles before every project.
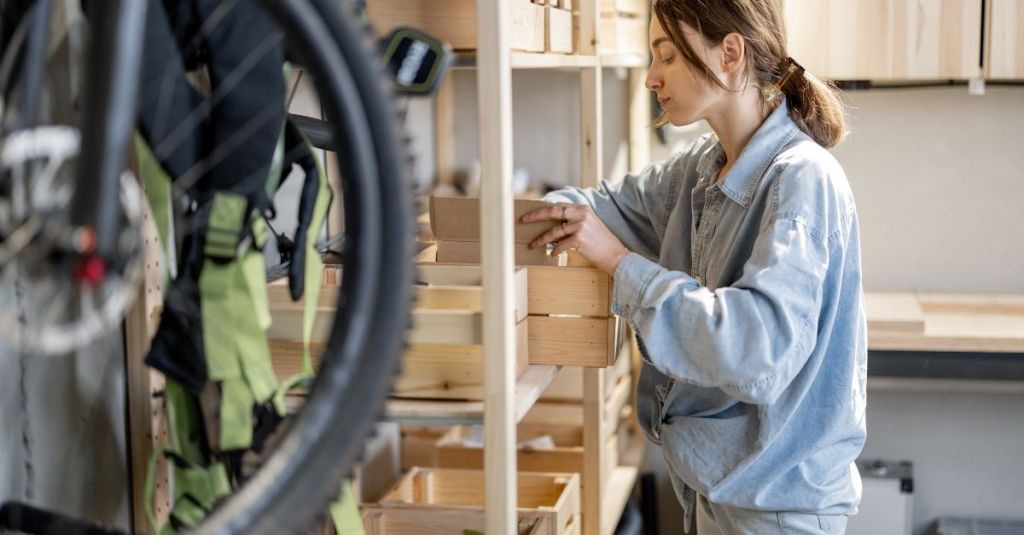
Sort Tools by Frequency of Use
Begin by grouping supplies according to daily, weekly, or seasonal usage, then arrange storage accordingly for effortless access. One tip for organizing your craft tools and supplies is to keep scissors, hot-glue sticks, and favorite markers within arm’s length on a magnetic strip or desktop carousel. Seasonal decor, specialty die-cuts, and rarely used embossing powders belong in labeled bins stored on upper shelves.
Next, reassess placement after major holidays or project shifts so that the system evolves alongside your changing creative needs. Better organization makes it much easier to keep craft supplies on hand for holiday activities and events throughout the year. Transparent containers reveal contents immediately, reduce repetitive searches, and preserve valuable crafting momentum. In turn, you maintain a fluid workflow that supports sudden bursts of inspiration without derailment.
Create Dedicated Project Stations
Designate individual zones for sewing, paper crafts, painting, and jewelry making so that specific tools never drift across table spaces. A compact sewing nook holds a machine, bobbins, and fabric scissors, whereas a painting corner includes easels, brushes, and brush cleaner within a safe splash distance. Clear boundaries keep supplies sorted naturally and simplify cleanup after long crafting marathons.
Label and Color-Code Containers Clearly
Start with uniform bins, then apply crisp, readable labels printed in large fonts for instant identification. Silk flowers, leather remnants, and specialty adhesives each deserve boldly marked homes so that family members return items correctly. One tip for organizing your craft tools and supplies is to assign color codes: blue for sewing notions, yellow for painting mediums, and green for paper kits, for instance.
Durable vinyl tags resist smudges and washing, preserving clarity through countless projects. Smart labeling abolishes guesswork and helps you focus solely on creative expression.
Maximize Vertical Storage
Pegboards, tall bookcases, and ceiling-mounted racks liberate floor space and place seldom-used templates high above bustling work zones. Arrange heavier equipment on lower shelves, mid-weight punches at eye level, and lightweight stencils overhead to maintain safety and balance. A well-planned vertical system grants quick visual scans that ensure nothing critical hides out of sight.
Furthermore, sliding panels or fold-down wall desks provide extra work surfaces without crowding the room permanently. Magnetic knife strips repurposed for metal-handled craft knives add flair while keeping blades secure and visible. Vertical thinking enlarges even modest studios, giving you room to dream bigger projects comfortably.


Leave a reply to Top Accessories for a More Organized Sewing Room – Wonderful Creations Cancel reply