
Check out today’s colorful craft tutorial where I show you how I made a fun sign out of chipboard shapes.
Supplies I Used:
- Chipboard Plaque
- Chipboard Words
- Acrylic Paint
- Fabric
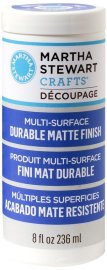
- Martha Stewart Decoupage Formula – Matte
- Foam Brush

1. Paint the chipboard word, and let it dry. Set it aside until you finish the other steps of the project.

2. Iron the fabric to remove any wrinkles, then cut the fabric to fit the chipboard plaque.


3. Decoupage the fabric on the plaque with the Martha Stewart adhesive. Let it dry for about 1-2 hours.

4. Finally, hot glue the painted chipboard word on the plaque.


Enjoy!
*** Chipboard shapes bought at Michaels.
Super cute! And I love the color combo you picked- perfect for spring! 🙂 Great post <3